 SDM Documentation
Standard Mode
Step 5: Publish
Send data to Apple School Manager
Step 5: Publish
The final step sends your data to Apple School Manager via SFTP.
Prerequisites
Before publishing:
- ASM Connection is configured and tested
- Preview shows no validation errors
- You've reviewed and approved the data
Publishing Process
1. Verify ASM Connection
The publish step shows your current ASM connection status.
2. Select Password Policy
Choose how initial passwords are generated:
| Policy | Format | Example |
|---|---|---|
| 4-digit | Four numbers | 1234 |
| 6-digit | Six numbers | 123456 |
| 8+ alphanumeric | Letters and numbers | Ab3dEf9h |
3. Confirm and Publish
- Review the summary (users, classes, courses count)
- Click Publish to ASM
- Wait for the upload to complete
What Happens During Publish
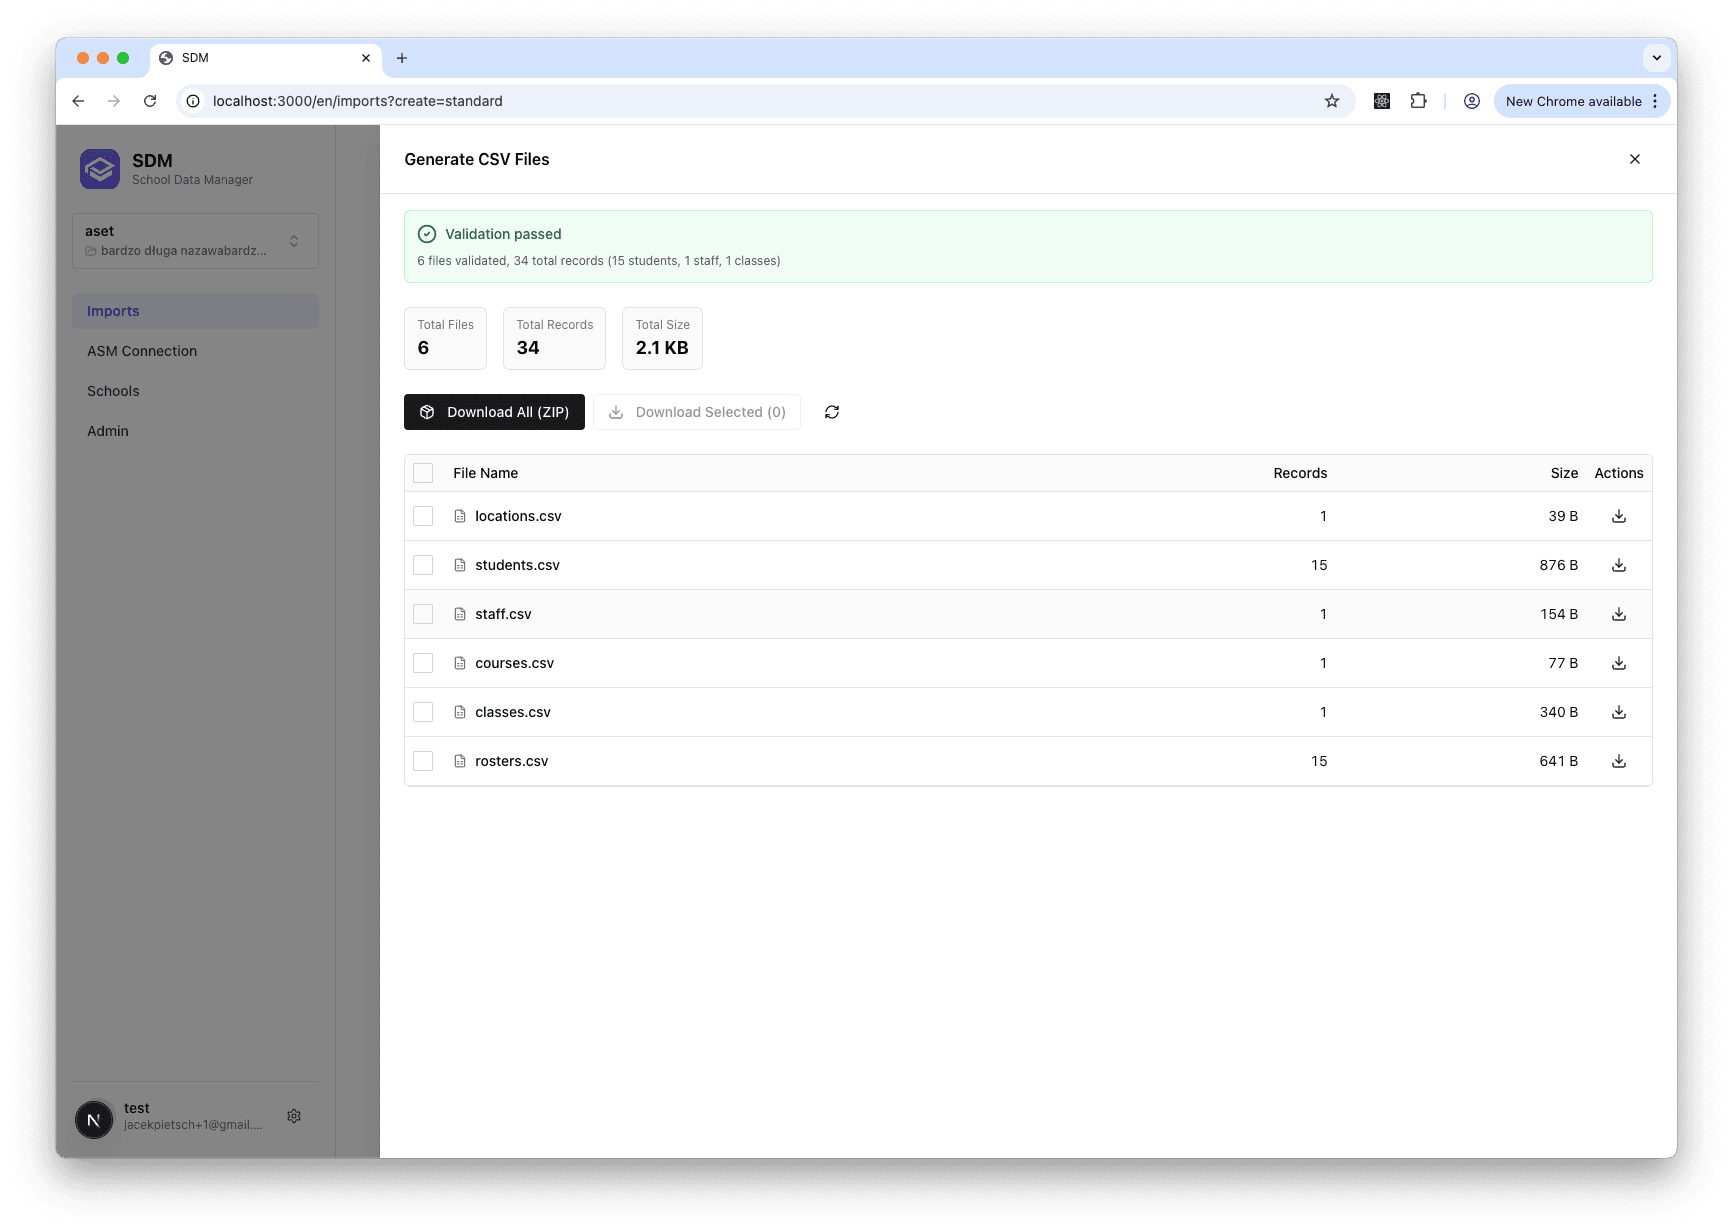
- Data Export: OneRoster data converted to ASM CSV format
- ZIP Creation: Files packaged as required by ASM
- SFTP Upload: Package uploaded to Apple's servers
- Verification: Upload confirmed and logged
After Publishing
Success
You'll see a confirmation message with the upload summary. Check your ASM admin console for import status.
Failure
If publishing fails, review the error message and check the troubleshooting guide.
Saving Your Flow
After publishing, you can save the flow for future use:
- Click Save Flow
- Enter a name for the flow
- Run it again anytime to refresh ASM data