 SDM Documentation
Standard Mode
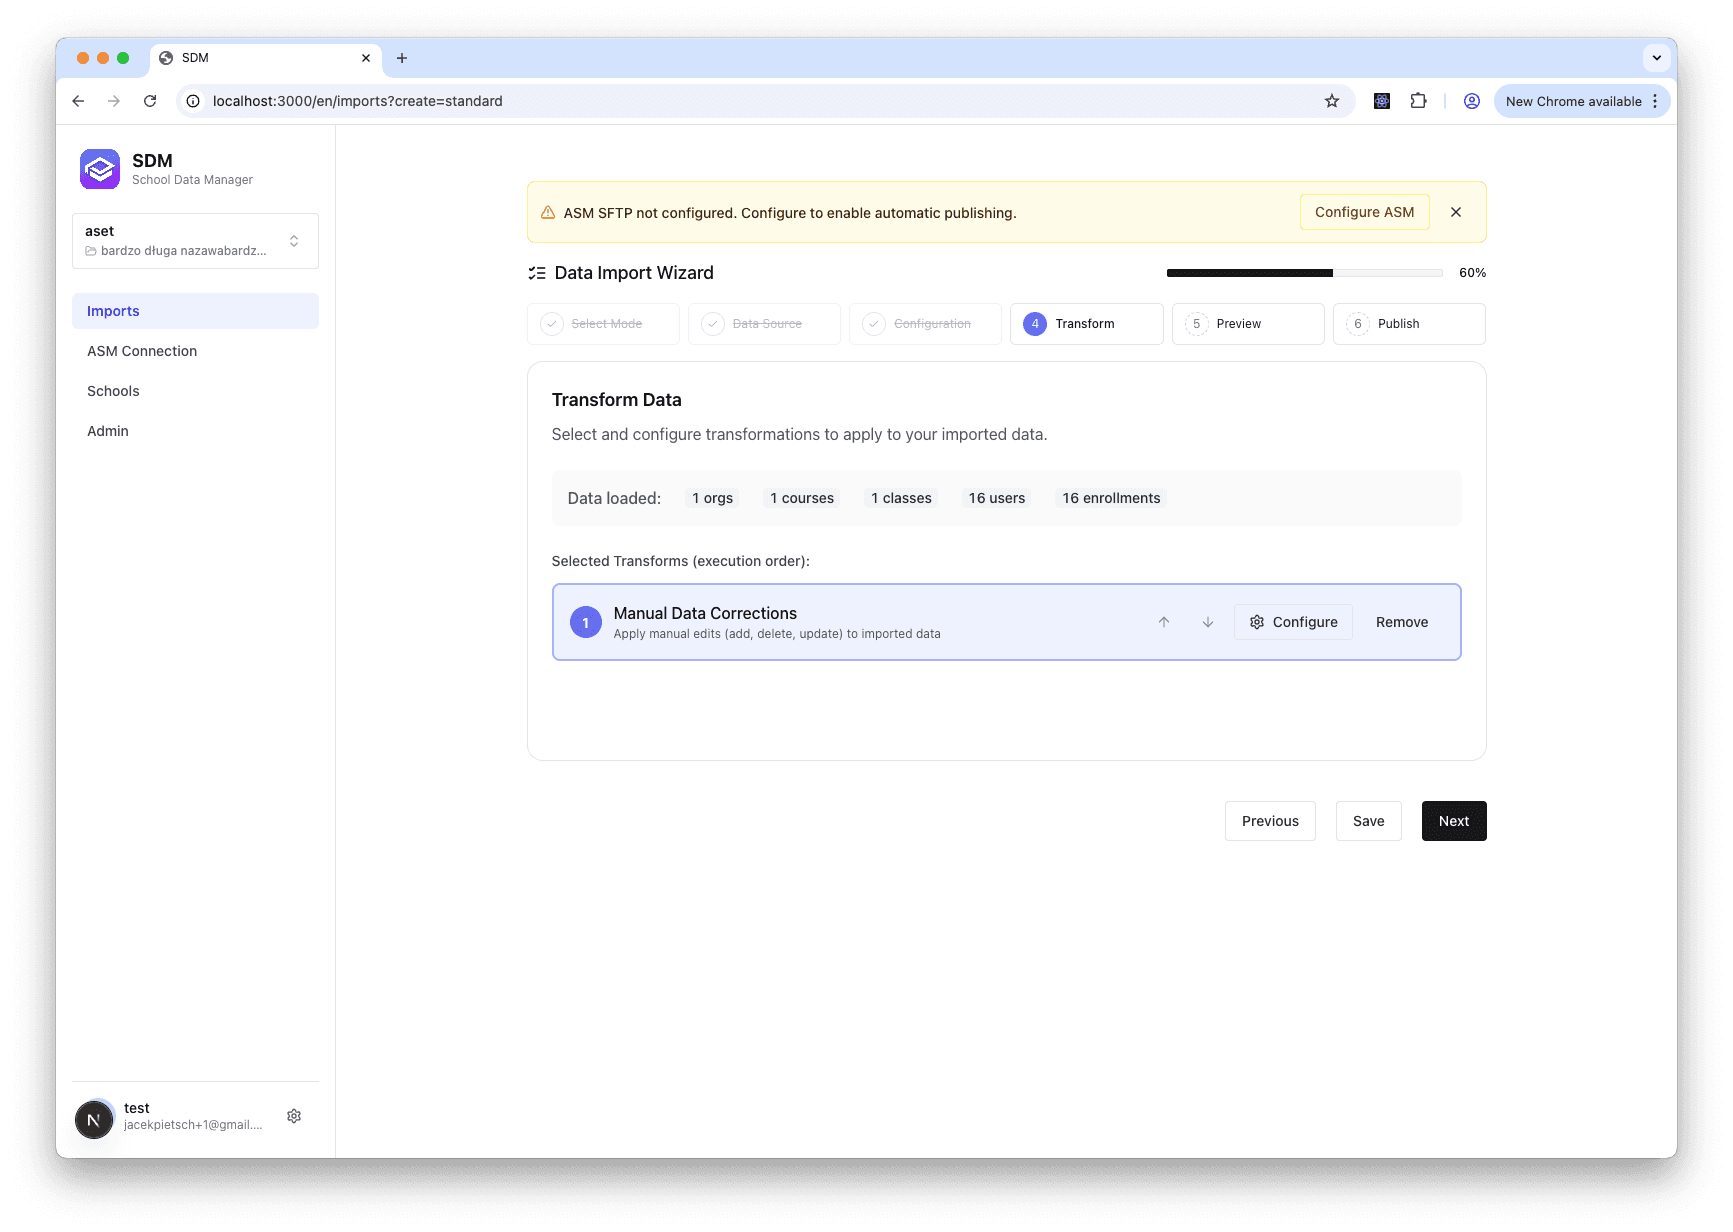
Step 3: Transform Data
Optional data transformations
Step 3: Transform Data
This optional step allows you to transform your data before publishing.
Available Transformations
Class Consolidation
Combine multiple class instances into consolidated classes.
Example:
- Before: "Math 1A", "Math 1B", "Math 1C" (3 separate classes)
- After: "Math Grade 1" (1 consolidated class with all students)
Field Mapper
Extract values from fields or metadata and map them to other fields. Supports regex extraction and prefix/suffix wrapping.
Example:
- Add school prefix: user identifier
12345becomesSCHOOL01_12345 - Extract from metadata: copy
metadata.classNumbertoclassCode
Manual Edits
Make corrections to your data:
- Edit user information (names, emails, roles)
- Modify class details
- Update course information
- Add or remove records
When to Use Transformations
Use Consolidation When:
- Your SIS creates separate class sections that should be combined
- You want to group classes by grade level
- ASM's 15-instructor limit requires splitting classes
Use Field Mapper When:
- IDs need a school code prefix or suffix
- Metadata values need to be copied to standard fields
- Regex extraction is needed for bulk transformations
Use Manual Edits When:
- Data has errors that can't be fixed at the source
- You need to add missing information
- Quick one-time corrections are needed
Skip Transformations When:
- Your data is already in the correct format
- No consolidation is needed
- All data is accurate
ASM Instructor Limit
Apple School Manager limits classes to 15 instructors. If your consolidated class has more than 15 teachers, SDM automatically creates overflow classes.
Learn More About Transforms
For detailed configuration and examples:
- Class Consolidation - Merge classes with full before/after examples
- Field Mapper - Extract and remap field values with regex and prefix/suffix
- Manual Edits - Make corrections to individual records
All transforms work with OneRoster format internally, regardless of your original data source.
What's Next
After configuring transformations, proceed to Step 4: Preview.