 SDM Documentation
Partners
School Onboarding
What schools see after accepting partner invitations
School Onboarding
When a school accepts an invitation or registers via a partner link, they experience a guided onboarding flow.
Welcome Dialog
On first login, schools see a welcome dialog with your partner branding:
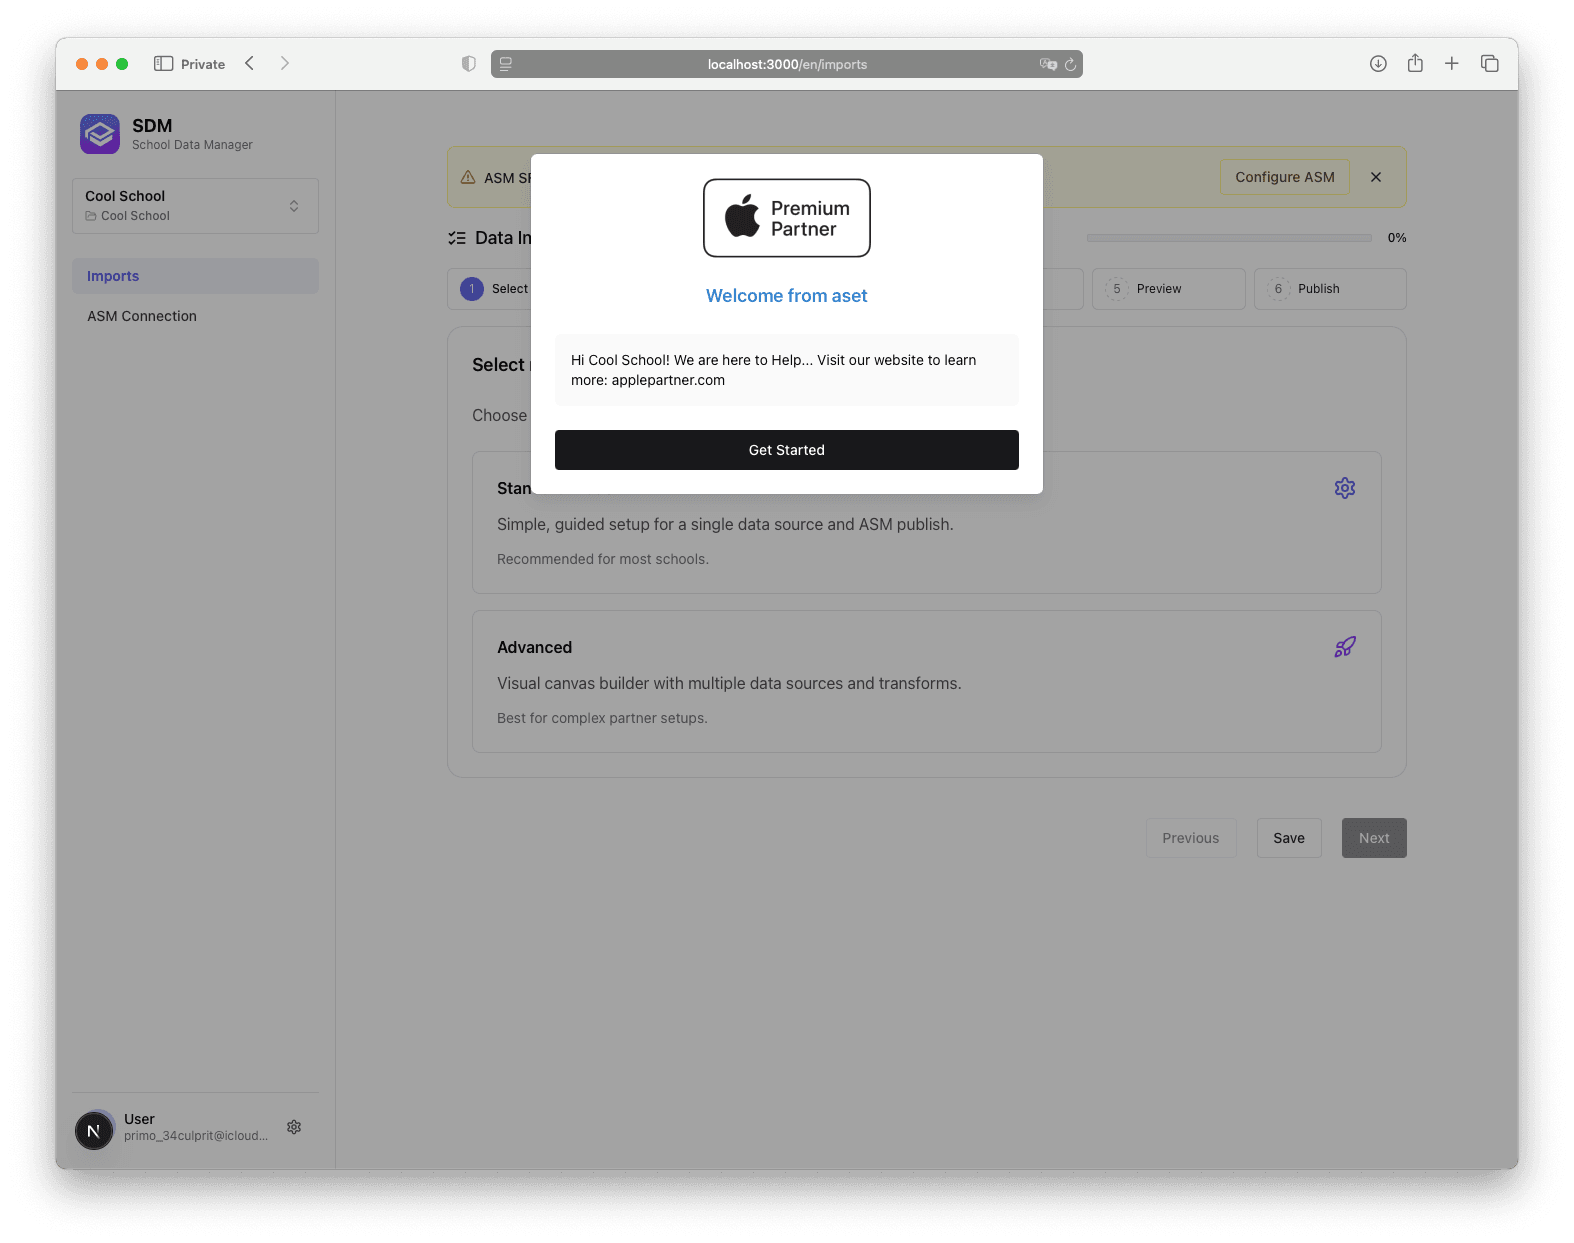
The welcome dialog includes:
- Your logo - Partner branding is prominently displayed
- Welcome message - Custom message you configured in Settings
- Partner website link - Link to your organization's website
- Get Started button - Dismisses the dialog and opens the main app
Partner Branding
Schools will see your branding in several places:
- Welcome dialog on first login
- Partner link registration page
- Invitation login page
- Email communications
Customizing Your Branding
- Go to Settings > Branding
- Upload your organization logo
- Set your welcome message
- Add your website URL
What Schools Can Do
After onboarding, schools can:
With Shared Workspace
If you've shared your workspace with the school:
- Create and run data flows
- Publish to your ASM instance
- View their data in preview
Without Shared Workspace
If no workspace is shared:
- Create flows but cannot publish
- View their data in preview
- Request workspace access from partner
School Dashboard
After dismissing the welcome dialog, schools see the main SDM interface:
- Imports - Create and manage data flows
- ASM Connection - View connection status (read-only if using shared workspace)
- Settings - Manage their profile and preferences
Supporting Your Schools
As a partner, you can:
- Monitor school activity - View last login and flow execution in your dashboard
- Resend invitations - If schools have trouble accessing their accounts
- Manage workspace access - Grant or revoke access to your ASM connection
- Provide documentation - Share this documentation link with schools
Customize your welcome message to include support contact information so schools know how to reach you if they need help.